What is a Call to Action?
A call to action on a website is an element that is specifically designed to entice a site visitor to take a certain action, or visit a certain page. The idea is that the page appears more enticing because it stands out from others in the menu.
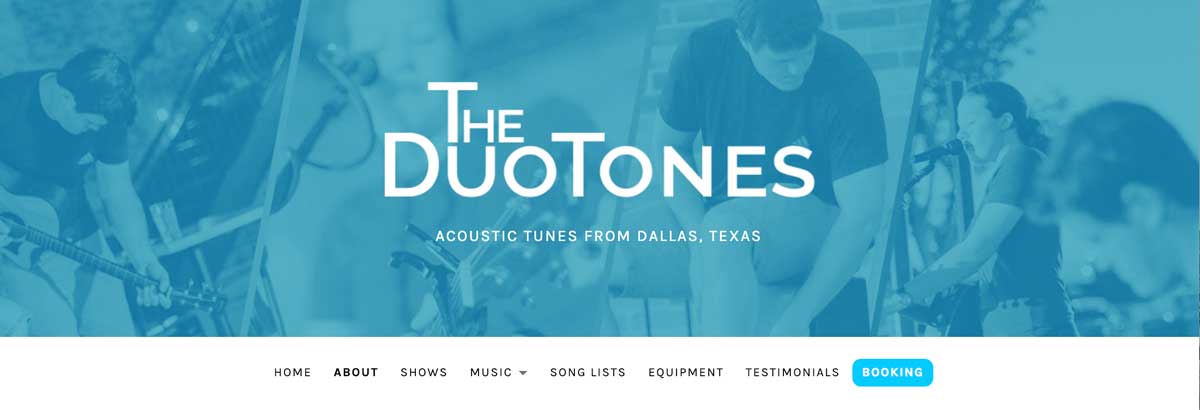
If we take the DuoTones’ website for example, you’ll see that there is a booking call to action in the menu bar. When that link is clicked, a contact form loads, requesting all the details necessary to quote a show price for a private event.
How to Create a Call-to-Action Button in Your Site’s Menu
If you’re using an theme from AudioTheme, the process for creating a call-to-action button in your header is very simple. Most of our themes come with button styles built right in since they’re used for other aspects of the theme.
Let’s use Encore as an example and do a step by step walk through using the existing button styles.
Step 1
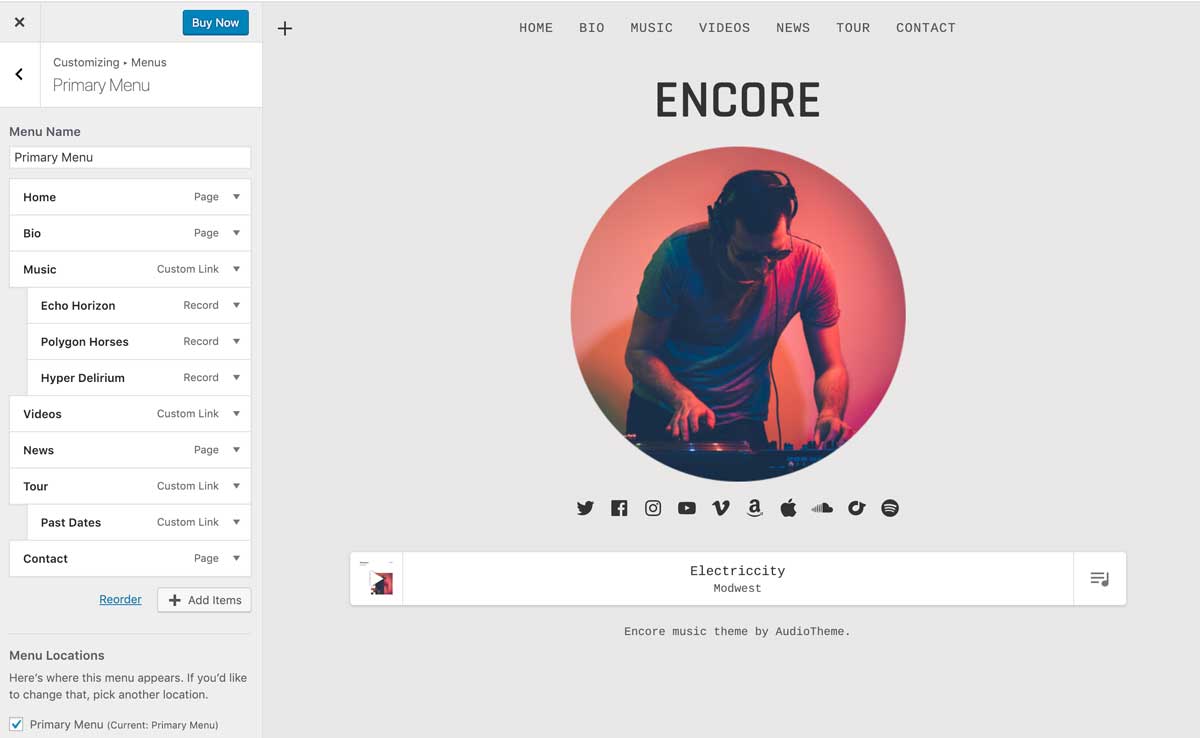
First, we’ll visit the primary menu settings under the Customize → Menus → Primary Menu.
Step 2
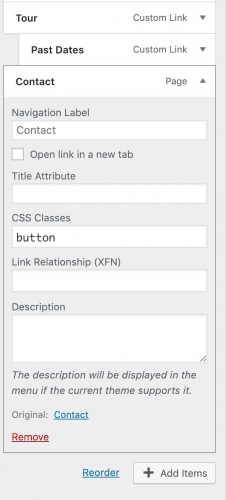
We’re going to add the call-to-action button to our contact page in this example, so we’ll need to expand the options related to that menu item. This can be done by clicking the triangle on the far right of the menu item.
 Step 3
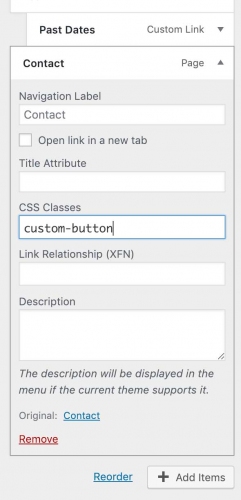
Once the options have been expanded, we will add the button class to the CSS Classes field for the menu item.
Step 4
Be sure to save your changes!
You’ll notice that this changes the contact page in the menu to display as a button.
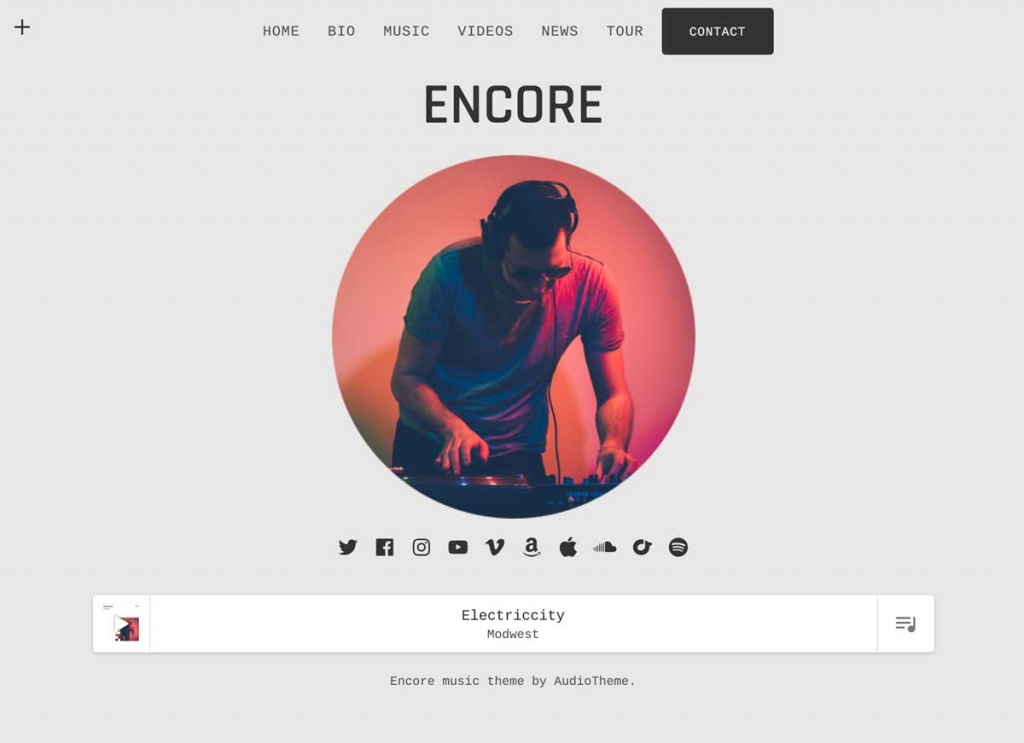
If you’d prefer another type of button, you can use the theme’s alternate button style by changing the CSS Classes to button-alt. This will display a slightly more subtle button style.
What If I Don’t See the “CSS Classes” field in the Customizer?
The CSS Classes field may not display in your customizer by default. However, you can enable on that field via your WordPress dashboard. Navigate to Appearance → Menus. In the upper right corner of the screen, you should see a tab labeled “Screen Options.”

When you expand this menu, you’ll see the option to select the CSS Classes option under the Show advanced menu properties area of the drop down menu.

Clicking that tab will allow you to add CSS classes to each individual menu item.
What If I Want to Create My Own Call-to-Action Style?
Maybe you want the call-to-action button on your menu to stand out a little more than the default styles. If that’s the case, you can create a custom call-to-action button style using some CSS. Here’s how.
Step 1
Just like before, we’ll visit the primary menu settings under the Customize → Menus → Primary Menu.
Step 2
We’re still going to add the call to action button to our contact page in this example, so we’ll need to expand the options related to that menu item. This can be done by clicking the triangle on the far right of the menu item.
 Step 3
Once the options have been expanded, we will add the custom-button class to the CSS Classes field for the menu item.
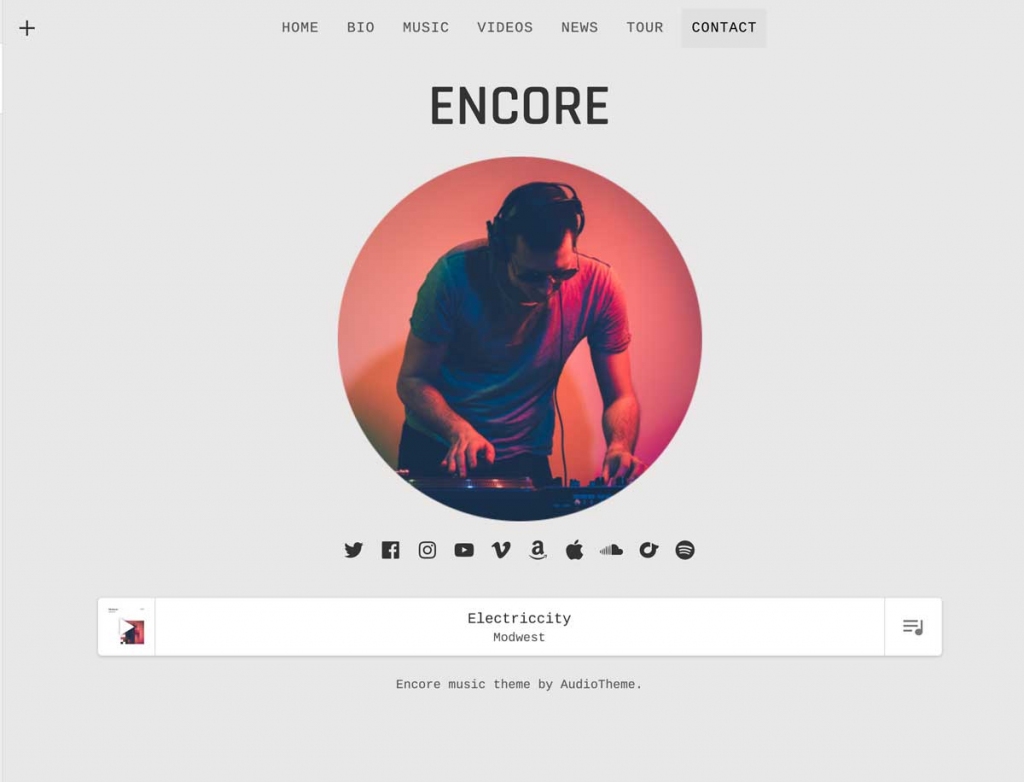
You’ll notice that the contact menu item doesn’t look any different at this point. This is because we need to define the CSS styles for the button.
Step 4
In order for the custom-button class to effect the contact menu item, its CSS styles must be defined. If you’re new to CSS buttons, a helpful tip is to just copy the theme’s default button as a starting point. You may also find our primer on CSS to be helpful.
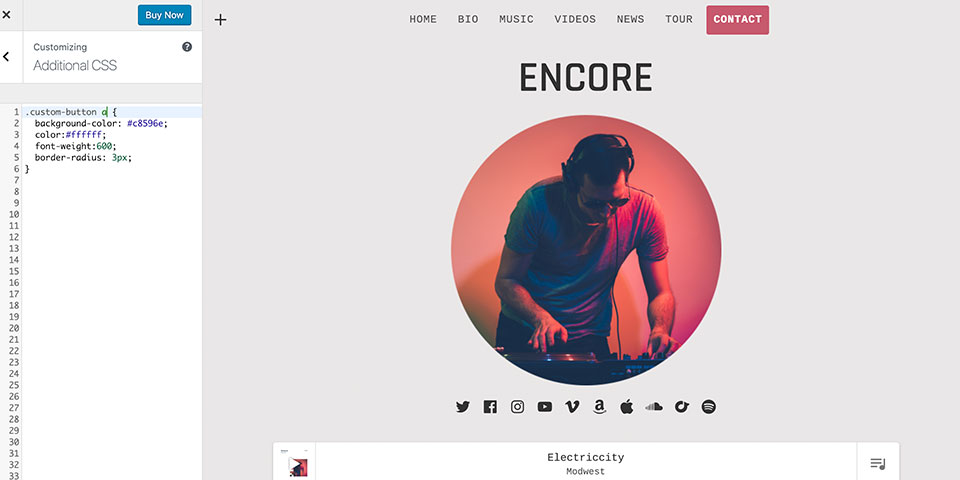
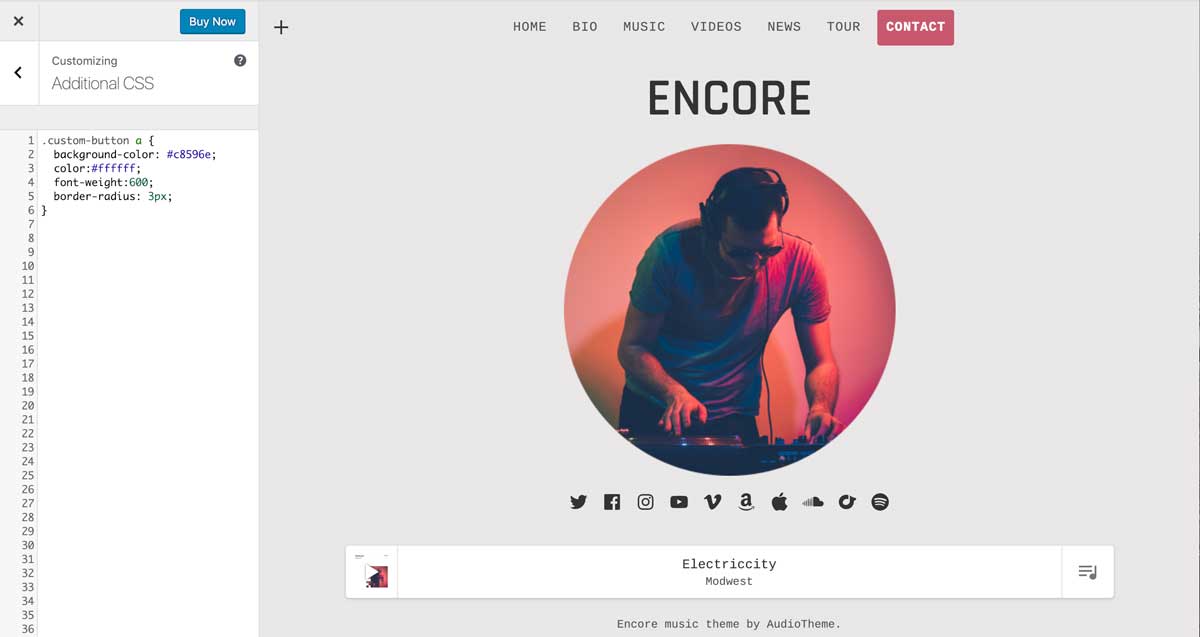
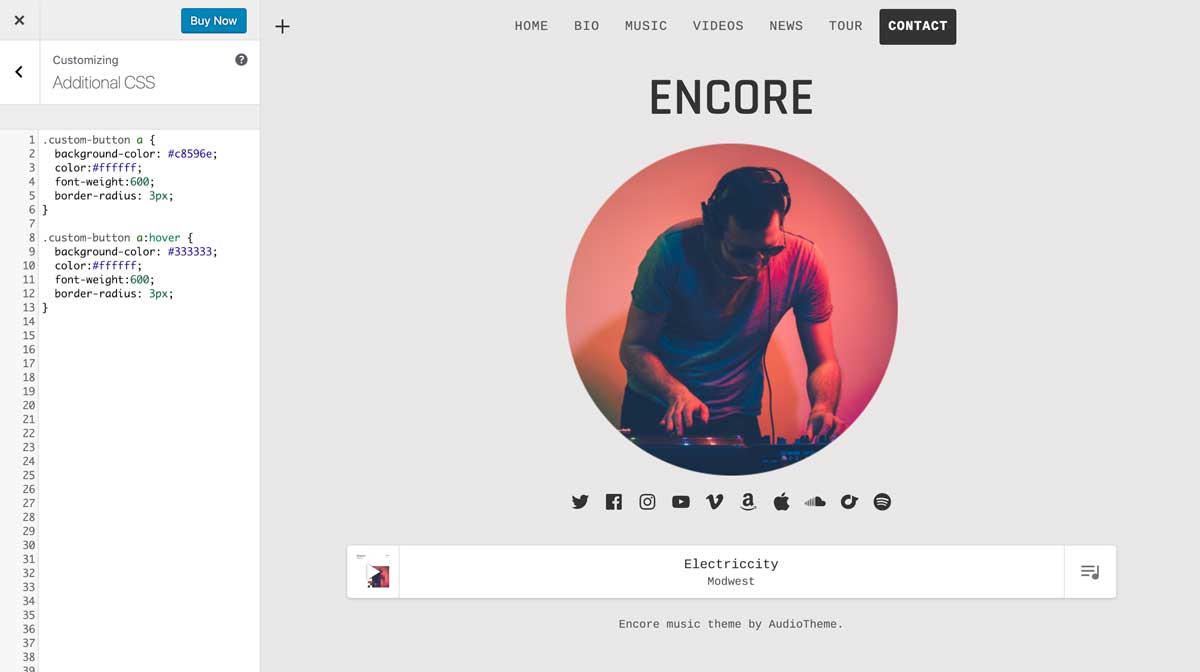
You’ll want to add your custom styles to the Additional CSS area of the customizer. If we want to add some interesting elements to our button class, we may add a new background color, font weight, and font color.
.custom-button a {
	background-color: #c8596e;
	color:#ffffff;
	font-weight:600;
	border-radius: 3px;
}
You can tell that even with just a few properties added, the button is really starting to stand out.
You can of course add hover effects to your button using CSS as well. For example:
.custom-button a:hover {
	background-color: #333333;
	color:#ffffff;
	font-weight:600;
	border-radius: 3px;
}
Which would result in the following hover style:
That’s it! That’s all there is to creating custom call to action buttons in your site’s menu bar.
What Are Some Potential Uses
Simply put, anything you want site visitors to pay attention to would make a great use case for a call-to-action button. A few ideas to consider are:
- Shopping carts
- New records
- Tour dates
- Booking forms
- Electronic press kits
- Blog posts
- Mailing list sign up
Wrapping Up
Adding a call-to-action button to your site’s menu is an easy way to draw extra attention to a specific page on your site. There are many potential uses for this simple customization. Do you have any additional ideas? Please share them in the comments!